
 Drone Services
 Access Equipment
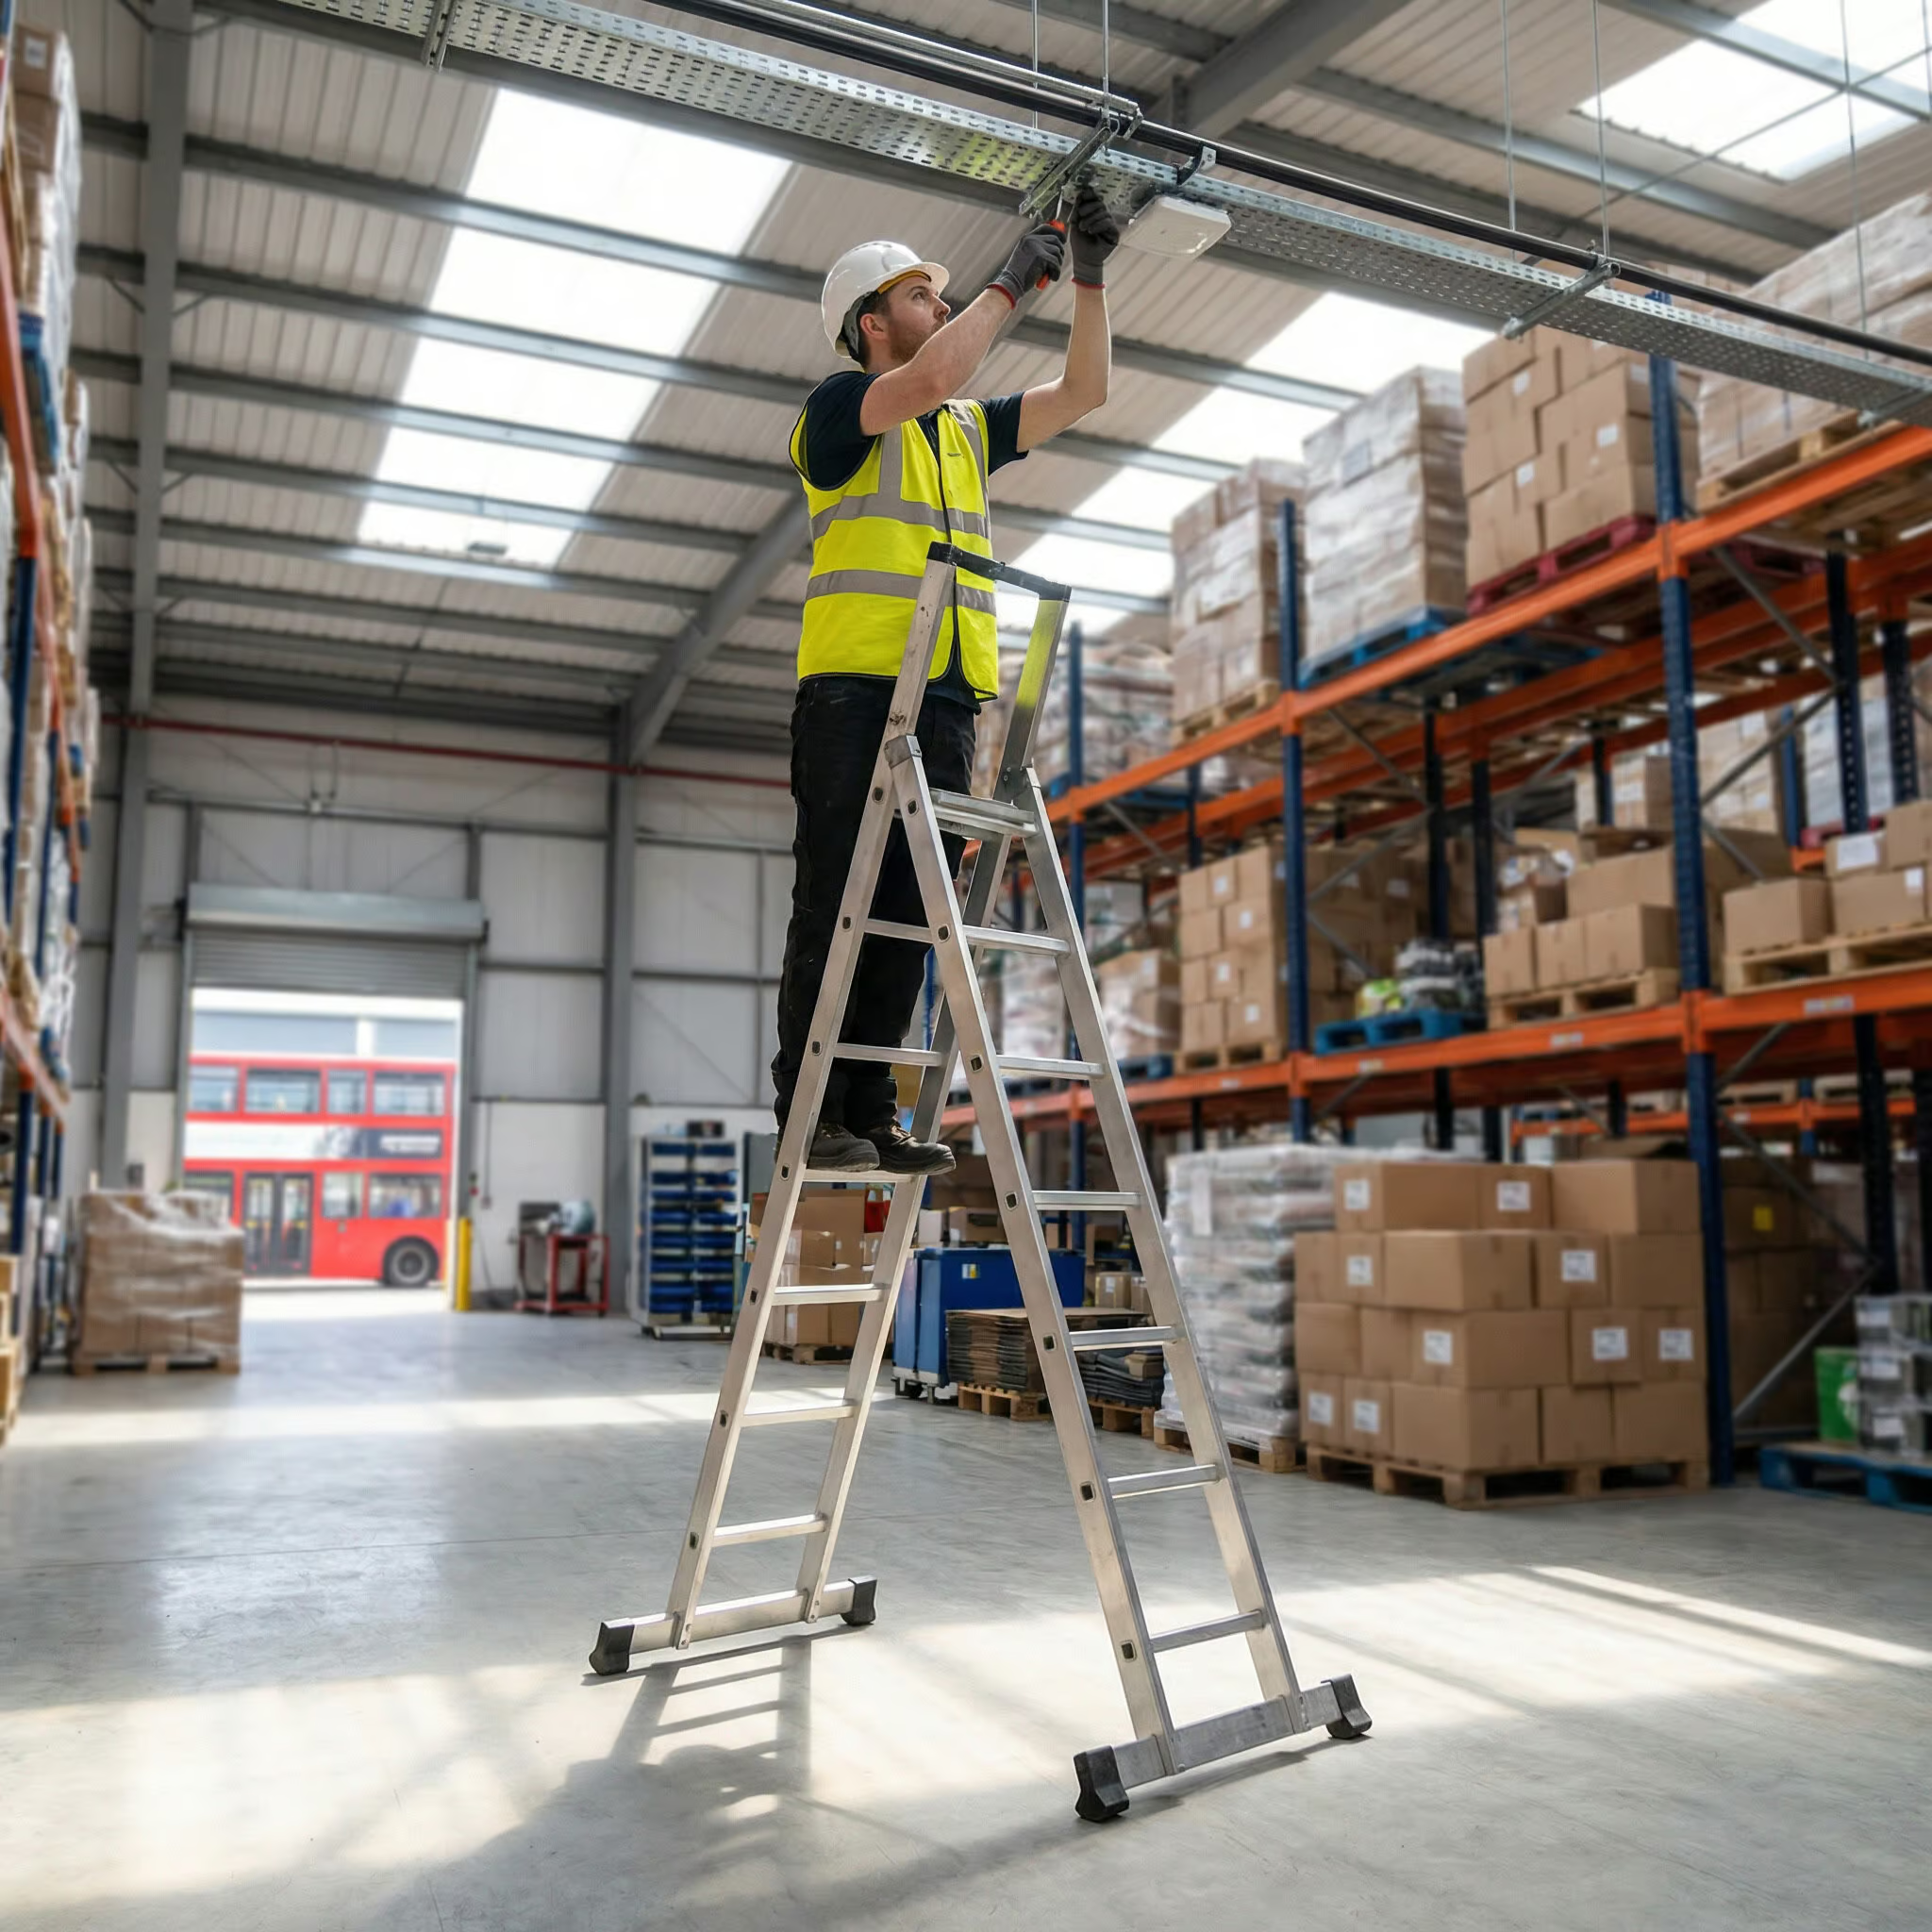
 Breaking & Drilling
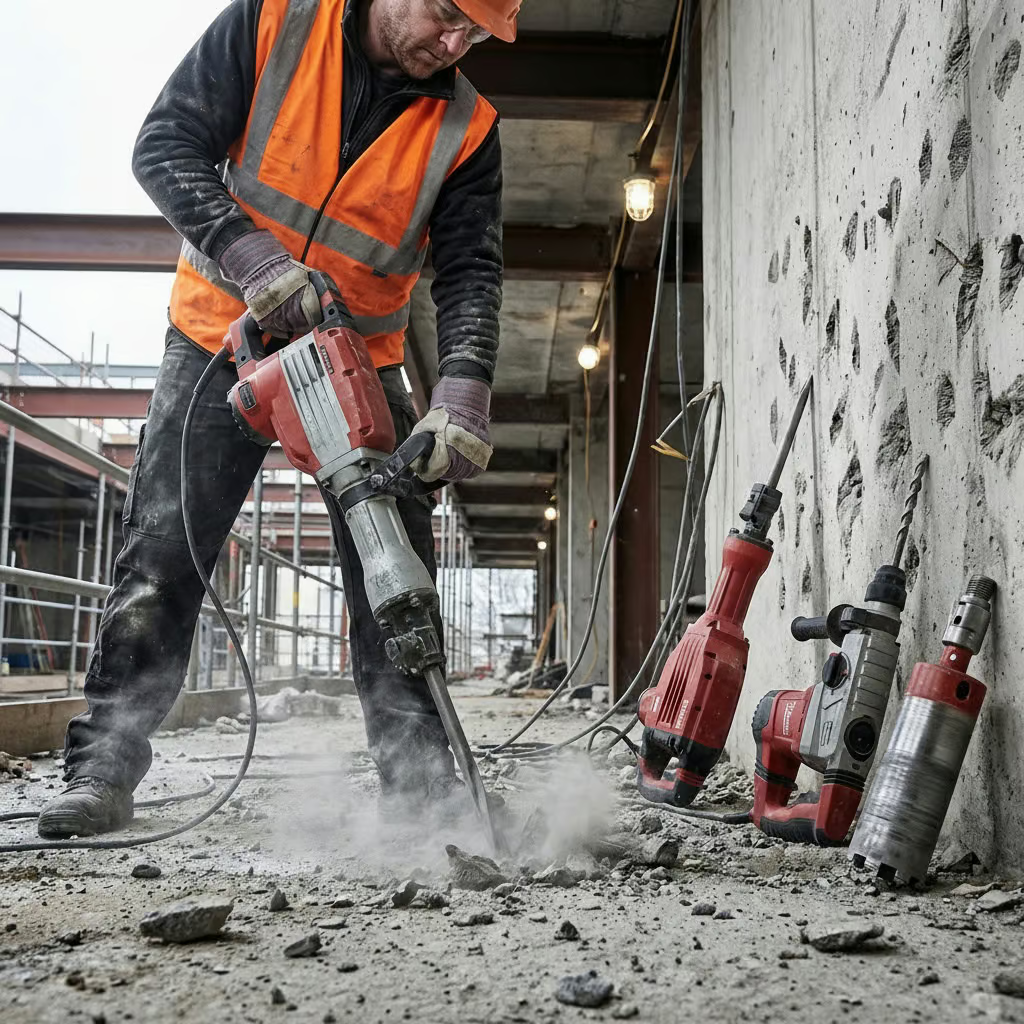
 Cleaning Equipment
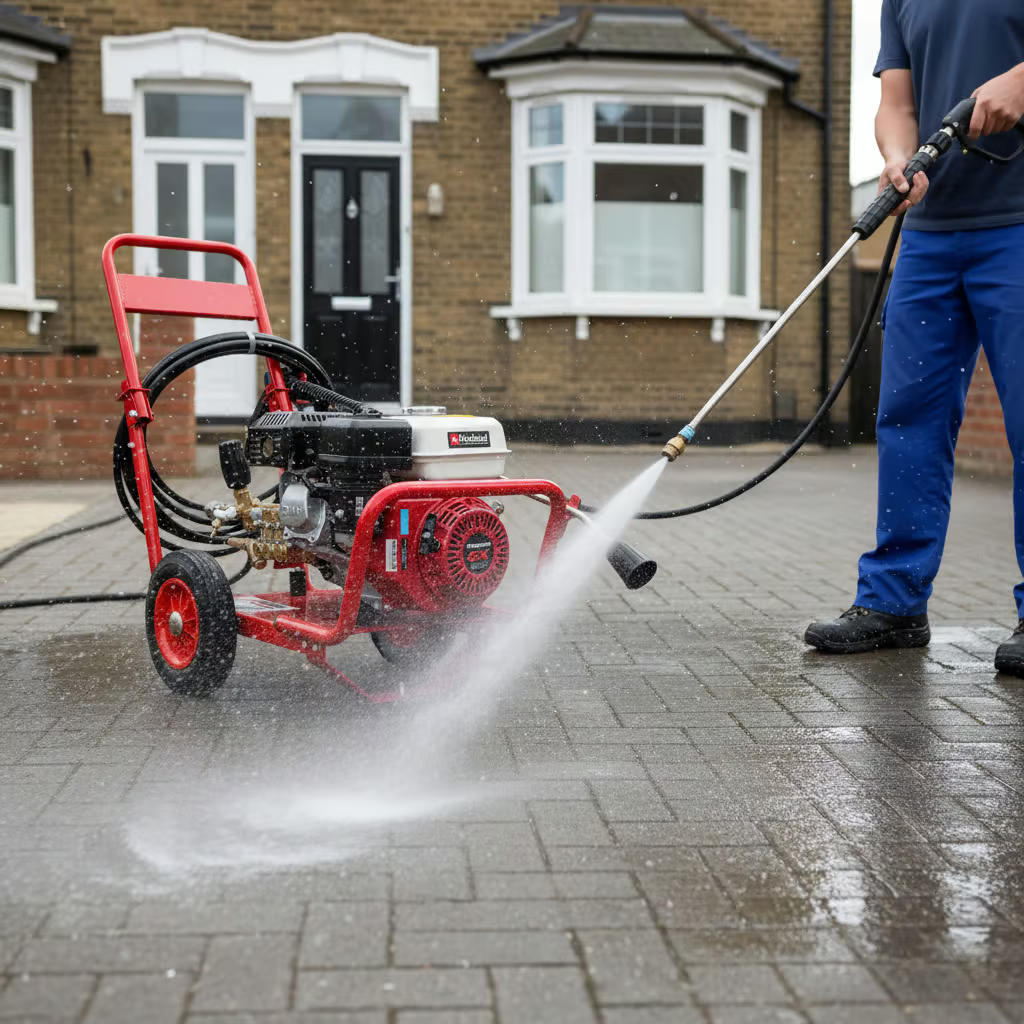
 Drying & Heating
 General Site Tools
Equipment Hire Guides
Post-Construction Cleaning — Which Equipment to Hire and When
The Three Phases of Post-Construction Cleaning
Every construction clean follows the same sequence. Skipping phases or doing them out of order either damages new finishes or creates rework.
Phase 1 — Rough clean: Remove construction waste, bulk debris, and heavy dust. This is industrial-scale cleanup, not detailed cleaning.
Phase 2 — Detailed clean: Scrub floors, clean all surfaces, remove paint splashes and adhesive residue, clean fixtures. This is where machinery makes the biggest difference.
Phase 3 — Final clean: Window cleaning, touch-up, snagging-level detail. Mostly manual work with standard cleaning supplies.
Phase 1 — Rough Clean (Days 1-2)
Goal: Remove all construction waste, bulk material, and heavy dust so Phase 2 can begin on clean-ish surfaces.
Equipment needed: Industrial wet & dry vacuum (essential for fine dust and debris). Heavy-duty bin bags and skip (waste removal). Broom and dustpan (loose debris). Dust mask and PPE.
What to do: Remove all packaging, offcuts, protective sheeting, tape, and fixings. Sweep all floors to remove loose debris, plaster dust, and construction waste. Vacuum all surfaces top-down — start with ceiling fixtures, work down walls, finish with floors. Clear window sills, ledges, and any horizontal surface that’s collected dust.
Phase 1 is not about perfection. It’s about removing enough material that Phase 2 cleaning can happen without immediately getting dirty again. A thin layer of dust on surfaces is expected at this stage.
Phase 2 — Detailed Clean (Days 2-4)
Goal: All floors, surfaces, and fixtures cleaned to near-handover standard. This is the equipment-intensive phase.
Equipment needed: Floor scrubber (for hard floor areas — tile, vinyl, concrete, wood). Pressure washer (for outdoor hard surfaces, external walls if needed). Industrial vacuum (continued from Phase 1 for detail work). Scrapers and razor blades (paint splashes, adhesive residue on glass). Specialist cleaning products (paint remover, adhesive remover, limescale remover).
Floor cleaning: Run a floor scrubber over all hard floor areas. New tile and vinyl often has adhesive residue, grout haze, and installation dust that mopping won’t remove effectively. For new concrete or screed, check whether the surface has been sealed before scrubbing. Unsealed concrete absorbs water — adjust solution volume accordingly. New carpet should be vacuumed thoroughly but not wet-cleaned at this stage. Carpet cleaning comes last, after all other dust-generating work is complete.
Surface cleaning: Clean all kitchen units, worktops, and appliances inside and out. Clean all bathroom fixtures, tiles, and fittings. Remove all paint splashes from glass, tile, and fixtures using a razor scraper. Clean internal doors, frames, and skirting boards. Wipe down all light fixtures and switches.
External areas: Pressure wash any external hard surfaces (patio, paths, car park) that have construction dust, mortar splashes, or cement staining. Clean external windows (inside and outside).
Phase 3 — Final Clean and Handover (Days 4-5)
Goal: Handover-ready condition. Every surface, fixture, and corner inspected and cleaned to completion.
Equipment needed: Carpet cleaner (if carpeted areas — this is the final step). Microfibre cloths, glass cleaner, detail cleaning supplies. Step ladder for high-level detail. Camera for documentation.
What to do: Final window clean (inside and outside). Touch up any marks on walls (note any that need paintwork, not just cleaning). Clean all hardware — door handles, hinges, window locks. Vacuum and/or clean all carpeted areas (final step — all dust-generating work is now complete). Check behind appliances, inside cupboards, and under sinks. Document condition with timestamped photographs.
Equipment Hire Timeline
| Phase | Day(s) | Equipment | Hire Duration |
|---|---|---|---|
| Phase 1 — Rough clean | Days 1-2 | Industrial vacuum | 2 days |
| Phase 2 — Floor cleaning | Days 2-3 | Floor scrubber | 1-2 days |
| Phase 2 — External cleaning | Day 3 | Pressure washer | 1 day |
| Phase 3 — Carpet cleaning | Day 4-5 | Carpet cleaner | 1 day |
| Throughout | Days 1-5 | Industrial vacuum | 5 days (weekly rate) |
Estimated total equipment hire cost (standard residential renovation): Industrial vacuum (5-day hire): £60-100. Floor scrubber (1-2 days): £40-100. Pressure washer (1 day): £40-60. Carpet cleaner (1 day): £25-50. Total: £165-310
Common Mistakes
Cleaning too early. Starting detailed cleaning while trades are still working means cleaning the same surfaces twice. Finish all building work in a zone before cleaning it.
Wet-cleaning new plaster too soon. Fresh plaster needs time to cure (minimum 4-6 weeks) before any wet cleaning. Wipe with a dry cloth only. Applying water or cleaning solution to uncured plaster causes staining and surface damage.
Forgetting adhesive and grout residue. These harden over time and become much harder to remove. Address them in Phase 2 while they’re still relatively fresh. After a week, some adhesives become virtually permanent without specialist solvents.
Using a pressure washer indoors. This sounds obvious, but the temptation exists on large commercial builds. Pressure washers create enormous amounts of water that needs drainage. Use a floor scrubber for indoor hard floors — it applies and extracts water in a controlled way.
Skipping documentation. Photograph the finished clean. For commercial builds, this protects you against disputes about the handover condition. For residential renovations, it provides a baseline for any future maintenance claims.
FAQ
How long does a post-construction clean take?
Can I do a post-construction clean myself?
What’s the most important piece of equipment to hire?
Do I need to clean before or after snagging?
How do I remove cement splashes from windows?
Related guides: How to use a floor scrubber | Warehouse floor cleaning | Which equipment do I need?
 Drone Survey & Mapping
 Drone Inspections